Create a Photo Card in Canva
We get a lot of requests for more customisable Occasion cards. We would love to offer this, and it’s on our list of product developments 😊, but while we get that sorted there is another great way to make your own custom cards using Canva.
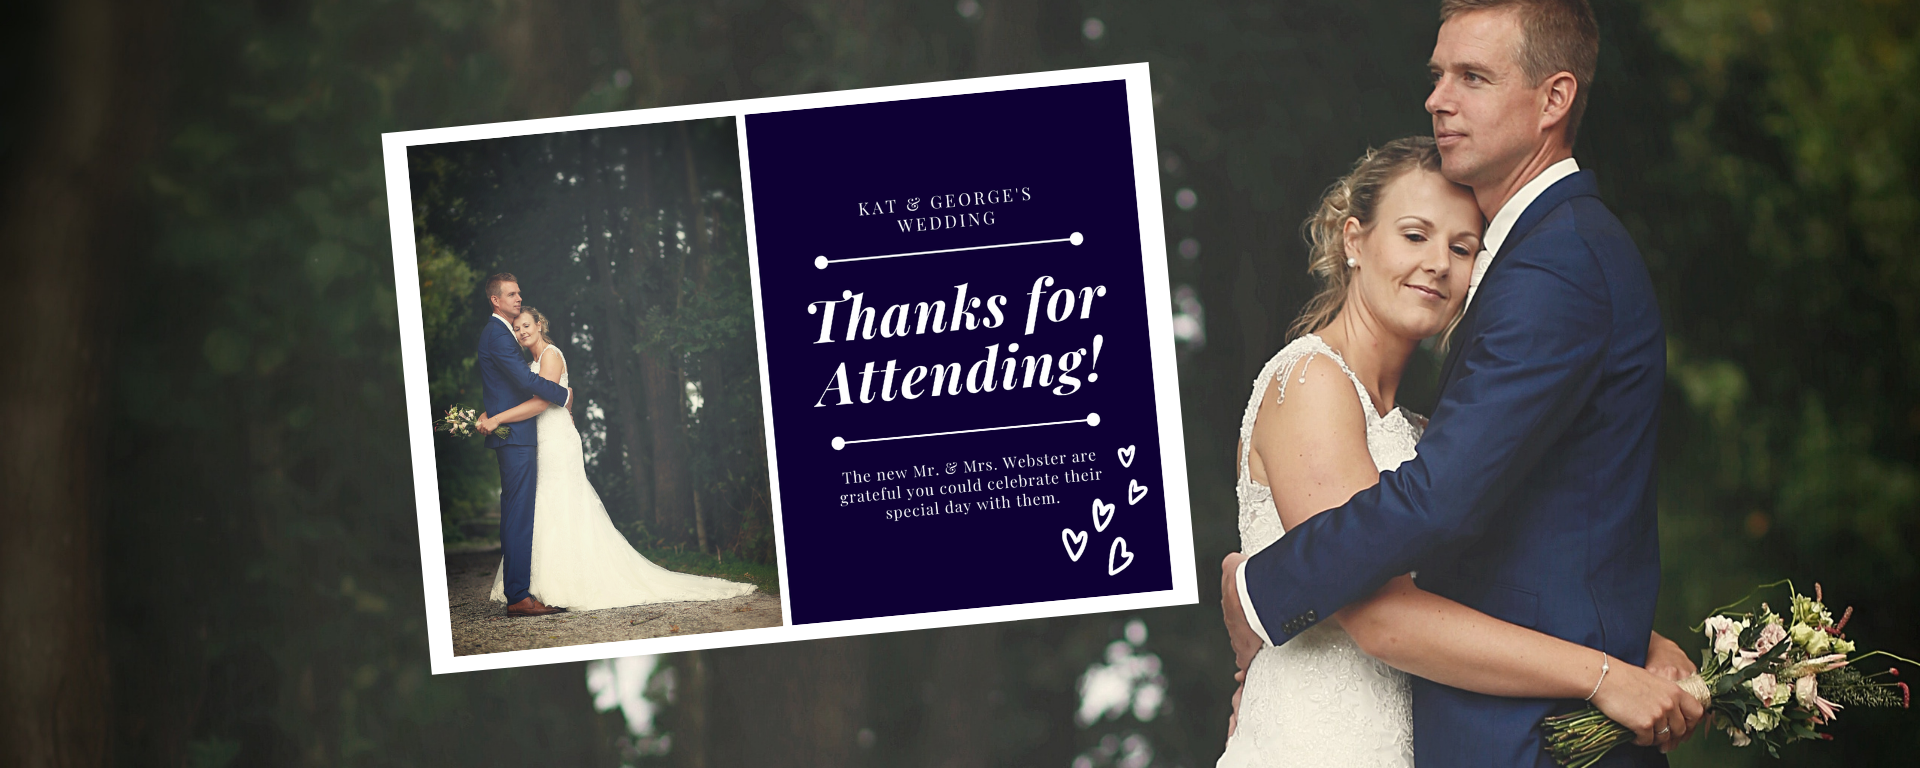
With our Photo card product you can upload your own image for the front of the card. Generally this would be a photo, but it can be any image you want – a wedding thank you design, a new baby announcement, party invite … the list is endless.
You can also add a custom design to your Notable cards and then add a message on the back of your cards as well.
Canva is a great tool to use to create your design. You can create a free account and use the design features and templates to make your own custom photo card.
Follow the steps below, or watch the video.
- In Canva, Create a design
- Select Custom Design
- Make sure the measurement is set to mm
- Enter the size of your card (148x105mm for landscape A6 photo card / 105x148mm for portrait A6 photo card)
- From the Templates tab, select the template you would like to use
- From the Uploads tab, upload the photo(s) to use in your design
- Click and drag your photos onto your design
- Make any necessary changes to the image crop
- Personalise the text
- From the Elements tab, add any additional elements to your design
- Download your design.
- Make sure the file format is PNG
- Go to HappyMoose and select the Photo card product
- Select your paper
- Include envelopes for each if required
- Upload your Canva design image
- Increase the number of prints if you would like to buy multiple copies of the card
- Add to cart and check out.
Photo cards and Notables are printed with a white border. You will get best print results if you create your design in Canva right to the edge of the image – during printing your image will be resized slightly to allow for the white border.